
Filter by brand

-
-
-
-
-
-
-
-
-
-
-
-
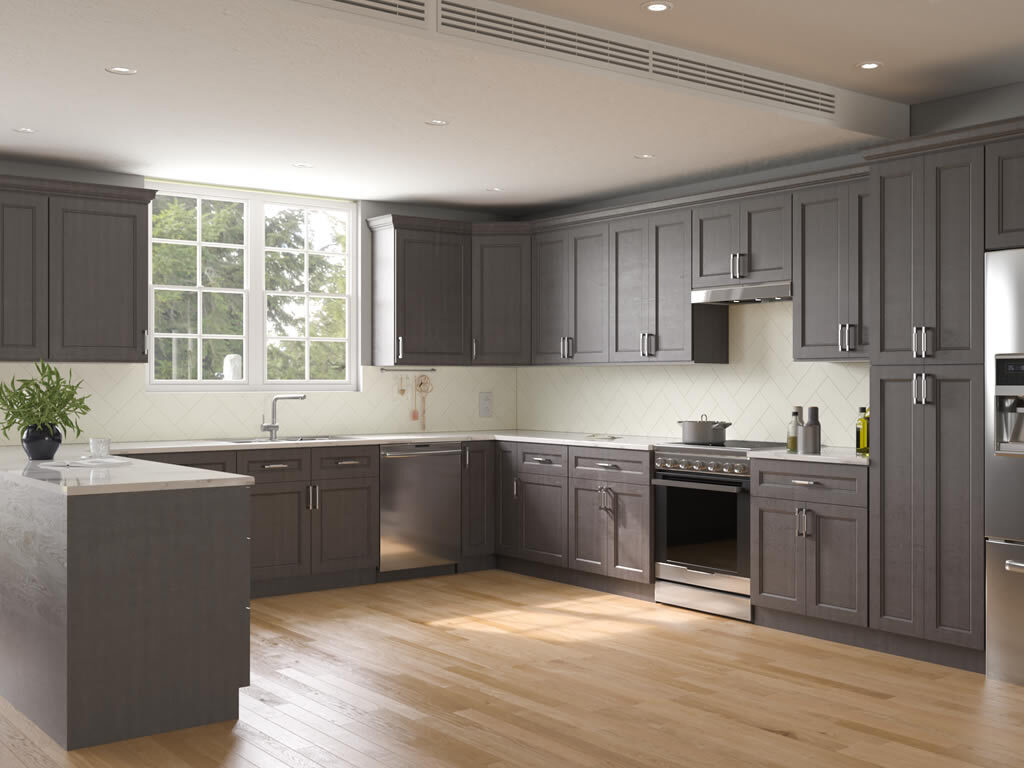
How to Assemble Kitchen Cabinets: A Step-by-Step Guide
Assembling kitchen cabinets can seem like a daunting task, but with the right tools, preparation, and instructions, it can be a manageable and even satisfying project. This guide will walk you through the process of assembling standard ready-to-assemble (RTA) kitchen cabinets step by step.
1. Preparation: Setting Up for Success
Gather Tools and Materials
Before starting, ensure you have the necessary tools:
- Screwdriver (manual or electric drill with bits)
- Rubber mallet
- Measuring tape
- Level
- Wood glue
- Clamps (optional)
- Safety gloves and goggles
Organize Your Workspace
- Choose a clean, flat area with enough space to spread out.
- Lay a protective layer (like a blanket or cardboard) to prevent scratches on cabinet panels.
Unpack and Inspect
- Open all the boxes and confirm that all parts and hardware match the inventory list.
- Check for damage or missing pieces; contact the manufacturer if necessary.
2. Familiarize Yourself with the Parts
Most RTA cabinets include:
- Side panels (left and right)
- Top and bottom panels
- Back panel
- Shelves
- Cabinet door(s)
- Hinges
- Drawer components (if applicable)
- Screws, dowels, and other hardware
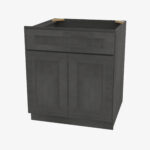
3. Assemble the Cabinet Box
Step 1: Attach the Side Panels
- Lay one side panel flat, with the inside facing up.
- Attach the bottom panel using screws, dowels, or cam locks as specified in the instructions.
- Repeat the process with the top panel.
Step 2: Secure the Back Panel
- Slide the back panel into the grooves on the side, top, and bottom panels.
- Ensure it is aligned properly and attach it with screws or nails.
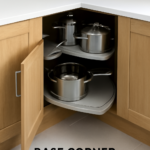
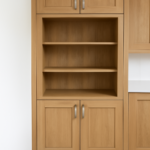
Step 3: Install the Shelves
- If the cabinet has fixed shelves, secure them now using screws or dowels.
- For adjustable shelves, wait until the cabinet is fully assembled, then insert the shelf pins into the desired holes and place the shelves.
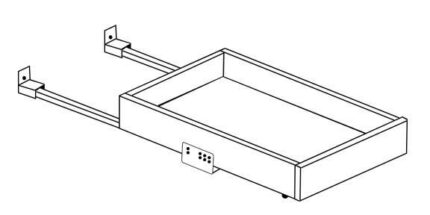
4. Assemble and Attach Drawers (If Applicable)
Step 1: Build the Drawer Box
- Attach the side panels of the drawer to the front panel using screws or dowels.
- Slide the bottom panel into place.
- Secure the back panel to complete the drawer box.
Step 2: Attach the Drawer Slides
- Screw the slide tracks onto the sides of the drawer box.
- Attach the corresponding tracks inside the cabinet.
Step 3: Insert the Drawer
- Align the slides and gently push the drawer into place until it clicks.
5. Install Cabinet Doors
Step 1: Attach Hinges to the Door
- Position the hinges on the back of the door at the specified measurements.
- Secure them with screws.
Step 2: Mount the Door to the Cabinet
- Align the hinges with the pre-drilled holes on the cabinet.
- Screw the hinges in place, ensuring the door is level and opens smoothly.
Step 3: Adjust Hinges
- Use the adjustment screws on the hinges to fine-tune the door alignment, ensuring consistent gaps.
6. Final Adjustments and Assembly
Step 1: Secure the Cabinet
- If the cabinet will be wall-mounted, attach a mounting strip to the back panel.
- Use screws and wall anchors to secure the cabinet to studs in the wall.
Step 2: Add Accessories
- Install knobs, pulls, or other hardware as specified.
- Place any adjustable shelves in their desired positions.
Step 3: Level the Cabinet
- Use a level to ensure the cabinet is straight.
- Adjust the legs or add shims under the base as needed.
7. Cleaning and Inspection
- Wipe down all surfaces to remove dust or fingerprints.
- Double-check that all screws and hardware are tight.
- Test the doors and drawers to ensure they open and close smoothly.
Tips for Success
- Follow the manufacturer’s instructions closely, as designs can vary.
- Work with a partner for larger cabinets to make handling easier.
- Take your time to ensure all components are aligned and secure.
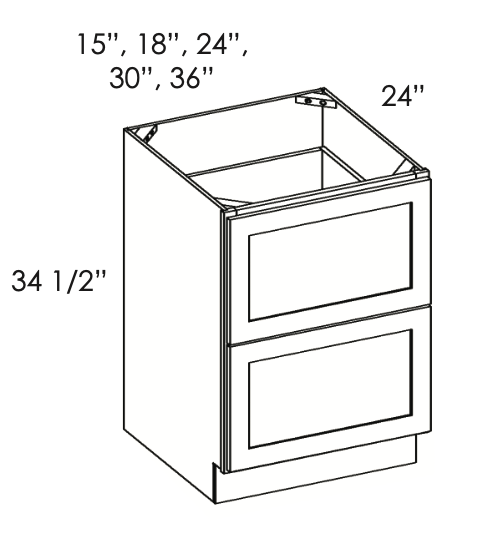
Unassembled Kitchen Cabinets
Unassembled kitchen cabinets, also known as Ready-to-Assemble (RTA) cabinets, are a popular choice for homeowners and contractors seeking affordable and customizable options for kitchen remodeling. These cabinets are delivered in flat-pack boxes, allowing customers to assemble them on-site.
One of the primary advantages of unassembled kitchen cabinets is cost-effectiveness. Since they are shipped in compact packaging, transportation and storage costs are significantly reduced. This makes them an excellent option for budget-conscious buyers who still want high-quality materials and finishes.
Another benefit is ease of customization. Unassembled cabinets often come in a variety of styles, materials, and finishes, giving homeowners the flexibility to choose designs that perfectly match their kitchen aesthetics. Whether you prefer a classic wood look or a sleek modern design, RTA cabinets offer options to suit every taste.
Assembly is straightforward, with most manufacturers providing detailed instructions, pre-drilled holes, and necessary hardware. With basic tools like a screwdriver or drill, even DIY enthusiasts can successfully assemble the cabinets. This hands-on approach not only saves labor costs but also provides a sense of accomplishment for those involved in the project.
Despite their advantages, unassembled cabinets require careful handling during assembly to avoid mistakes or damage. Ensuring all parts are present and following instructions diligently is essential for a successful outcome.
In conclusion, unassembled kitchen cabinets are a practical, affordable, and customizable solution for anyone looking to enhance their kitchen. Their versatility and cost savings make them an increasingly popular choice in modern home improvement projects.